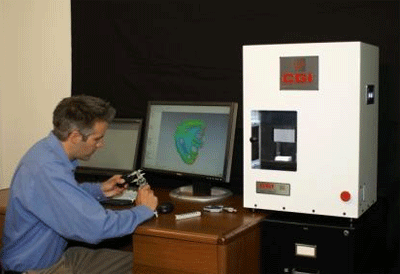
(CGI Inspection: Eden Prairie, MN) -- CGI Inspection, an innovator in the world of 3-D inspection equipment, has introduced the Pearl-700, a new desktop 3-D cross-sectional scanning and inspection system. This new system is portable, easy to use, quiet, and affordably priced. The Pearl-700 can significantly reduce the time and expense usually needed to digitize, measure, and qualify parts from injection molding tools.
|
ADVERTISEMENT |
The process begins by encasing your molded part in CGI’s “Encase It” material, which completely covers and fills the entire part. After the part is placed in the Pearl-700 machine, it scans the part while it runs unattended. An ultra-thin layer (0.001 in.) of the part and its encased material is removed at a time. A high-resolution image of each newly exposed cross section is accurately captured by the Pearl-700’s camera. The process completely digitizes all the molded part’s geometry, inside and out, creating a 3-D point cloud. This 3-D point cloud can then be used for inspection, failure analysis, 3-D color mapping, or reverse engineering.
Combining the Pearl-700 with CGI’s proprietary Spec.Check software makes a powerful tool for first article inspection of small and more complex parts that have internal features.

When it comes to first article inspections, failure analysis, and reverse engineering, the Pearl-700 technology differs from anything you’ve seen before.
• Specify tight tolerances on hidden features or critical dimensions that conventional technology can’t see or measure:
• Locate out-of-spec dimensions before going to production or during failure analysis
• Visually demonstrate manufacturing adherence to product design requirements using 3-D color mapping
• Prevent field failures that result from changes in your manufacturing process, materials, or worn molds
For more information, contact CGI Inspection via e-mail at service@cgiinspection.com or on the web at www.cgiinspection.com.
Add new comment