Body
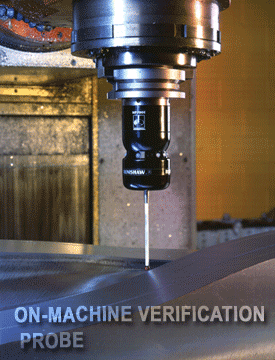
 The use of probes on machine tools to assist in setting up jobs is well established. Recent developments in machining and inspection software mean that this equipment can now be used in a wider range of applications that are aimed at increasing overall equipment effectiveness, which consequently improves productivity and profitability. A new application for these probes is on-machine verification. They can be used to collect measurements after a machining operation. Newer software can use data from machine-tool probes in the same way they use data from probes on CMMs. These programs also provide the same benefits as when they’re used on dedicated inspection equipment. They give quick and easy comparison of tooling and sample components against CAD data and produce clear, comprehensive reports that can be understood by everyone involved in the project. As the CAD model becomes the defining reference in product development processes, inspection based on CAD data is steadily replacing measurements based on drawings.
 …
Want to continue?
Log in or create a FREE account.
By logging in you agree to receive communication from Quality Digest.
Privacy Policy.
Add new comment