{domain:"www.qualitydigest.com",server:"169.47.211.87"} Skip to main content

        
User account menu
Main navigation
  • Topics
    • Customer Care
    • Regulated Industries
    • Research & Tech
    • Quality Improvement Tools
    • People Management
    • Metrology
    • Manufacturing
    • Roadshow
    • QMS & Standards
    • Statistical Methods
    • Resource Management
  • Videos/Webinars
    • All videos
    • Product Demos
    • Webinars
  • Advertise
    • Advertise
    • Submit B2B Press Release
    • Write for us
  • Metrology Hub
  • Training
  • Subscribe
  • Log in
Mobile Menu
  • Home
  • Topics
    • Customer Care
    • Regulated Industries
    • Research & Tech
    • Quality Improvement Tools
    • People Management
    • Metrology
    • Manufacturing
    • Roadshow
    • QMS & Standards
    • Statistical Methods
    • Supply Chain
    • Resource Management
  • Login / Subscribe
  • More...
    • All Features
    • All News
    • All Videos
    • Training

Achieve Smart Manufacturing With Advanced 3D Data Management

Teams get instant access to a centralized hub of critical measurement information

Polyworks

Ray Chalmers
Bio
Mon, 01/12/2026 - 12:02
  • Comment
  • RSS

Social Sharing block

  • Print
Body

All manufacturing companies must manage an ever-growing mountain of priceless inspection data. Yet measurement results, process iterations, and approval reports are scattered across hard drives and USB sticks. We live in a digital world that advances daily, yet obtaining, accessing, sharing, and tracking digital files often feels like digging through an overstuffed file cabinet—hoping to locate what you want without actually knowing if it’s what you need.

ADVERTISEMENT

Now, imagine a streamlined digital data management system where all your 3D measurement files exist in a central secure, searchable hub. Doubts and time-wasting disagreements on whether metrology tasks or reports were already done or not vanish. This is impossible to accomplish with metrology data scattered across the enterprise on equipment hard drives or USB sticks in various locations.

Add intuitive indexing, search, and filtering tools that seamlessly retrieve data based on part number, serial number, or production line, and you can be sure you’re working effectively. Gigabytes of 3D data you’ve already captured are turned into accurate, timely, and secure documentation and reports. All your invaluable inspection data stay organized, up to date, and readily available to engineering and quality control (QC) teams—indeed, to anyone who needs it.

The manual past

Surprisingly, many companies still store 3D measurement data on the hard drives of the computers connected to their devices. This practice creates data silos, amplifying the risk of errors. These measurement files can also quickly achieve gigabyte status. When manually handled, they must first be copied and zipped with retrieval instructions. Each team member, whether working onsite or remotely, must follow those instructions and copy the file onto their own computer.

This not only creates duplicates but also strips downstream comments and actions from the context set by the inspection data. Catching a mistake or suggesting an improvement means sending it through a different communication channel. And when discussion is key to collaboration and product improvement, disconnecting it from the 3D measurement data compromises its value, delays decision-making, and weakens its overall impact.

The digital future is now

Now envision a manufacturing organization working with multiple suppliers. Digital 3D data management across the enterprise means engineers and QC leads access formerly scattered data instantly. Identifying, defining, and sharing design changes boosts engineering efficiency and helps catch costly design issues early, before they escalate during production phases.

Updating, saving, and later retrieving such valuable 3D measurement data when needed also ensures efficient documentation and preserves data integrity over time. Instead of starting from scratch, teams can build on the latest model iterations as the starting point for future efforts. The ability to track and manage 3D data throughout its entire life cycle empowers companies to make better decisions fast. Valuable insights can be extracted from the data, leading to enhanced product design, optimized processes, and ultimately, higher-quality outputs.

Advanced 3D data management brings modern digital communication features— including hyperlinks, tagging, and notifications—directly into the process. It also offers a discussion thread within every inspection project to facilitate information exchange between internal and external collaborators, no matter the physical distance.


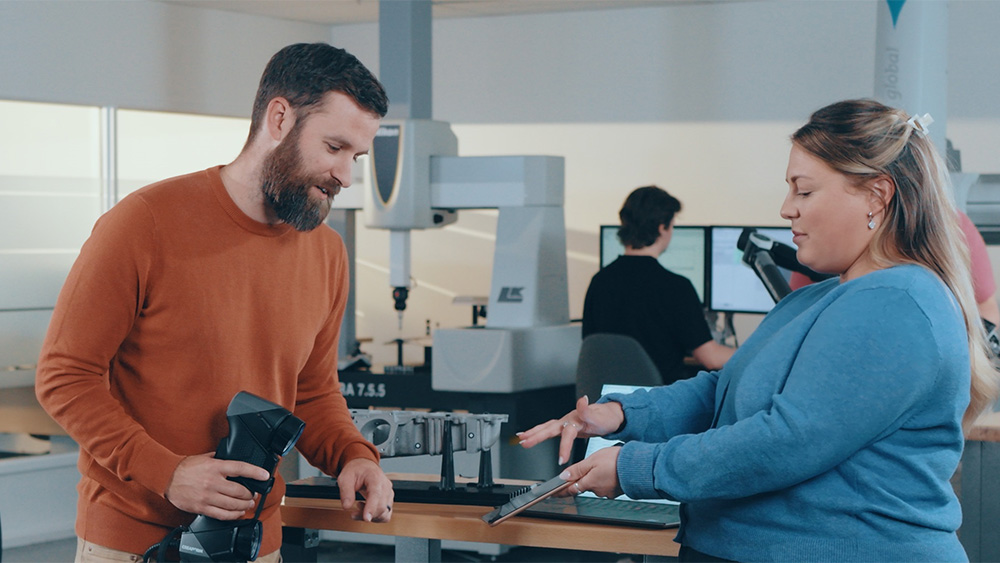
Advanced 3D data management facilitates information exchange between internal and external collaborators, no matter where they are.

Boosting teamwork efficiency at GE Appliances

GE Appliances, a Haier company, has been making heating and cooking products since 1907. Based in the 750-acre Appliance Park in Louisville, Kentucky, the company employs more than 8,000 people. Product innovations include the first self-cleaning oven and over-the-range microwave. Pioneering the first suite of Wi-Fi-connected appliances and products that interact with Google Home and Amazon Echo, the company won Smart Appliance Company of the Year at the Internet of Things Breakthrough Awards three years running.

With multiple product lines and hundreds of parts per product, appliance manufacturing can be an incredibly complex undertaking. Tasked with determining the best way to achieve next-level quality and productivity and ensure the company’s future, GE Appliances leadership realized that using the same software to interface with different measuring devices, aggregating the 3D metrology data, and efficiently putting those data in the hands of engineers who need it, was key.

The company uses about 20 coordinate measuring machines (CMMs), some scanner arms and other portable devices, and at least six different software packages associated with those devices. They knew they had to consolidate all that data into one software so that everyone could have easy access.

“All the 3D data in the world is not that valuable if engineers can’t get their hands on it,” says Dave Leone, senior director for engineering and dimensional control at GE Appliances.

The company began using PolyWorks|DataLoop, a scalable data-management solution, to handle vast amounts of data produced by all the multiple measuring sources (e.g., CMMs, laser scanning) and make it available to engineers and decision-makers across the organization. Teams can now measure parts, review results, troubleshoot issues, and proactively adjust manufacturing processes simultaneously, greatly enhancing productivity and product quality.

“I remember the first time that it sank in for me that we were really onto something,” says Randy Franklin, principle manufacturing quality engineer.
“We were having a product problem, and as I looked around the room, everybody’s screen was on DataLoop—at some control view or looking at some color map—and we were all just consuming the three-dimensional data. And I remember thinking that this is the way that we need to be working.”

From design engineering to the shop floor, enterprisewide 3D data management helps inspection practices continuously improve, sees data silos evaporate, and allows a next-generation manufacturing company to emerge.

Add new comment

The content of this field is kept private and will not be shown publicly.
About text formats
Image CAPTCHA
Enter the characters shown in the image.

© 2025 Quality Digest. Copyright on content held by Quality Digest or by individual authors. Contact Quality Digest for reprint information.
“Quality Digest" is a trademark owned by Quality Circle Institute Inc.

footer
  • Home
  • Print QD: 1995-2008
  • Print QD: 2008-2009
  • Videos
  • Privacy Policy
  • Write for us
footer second menu
  • Subscribe to Quality Digest
  • About Us