Creaform
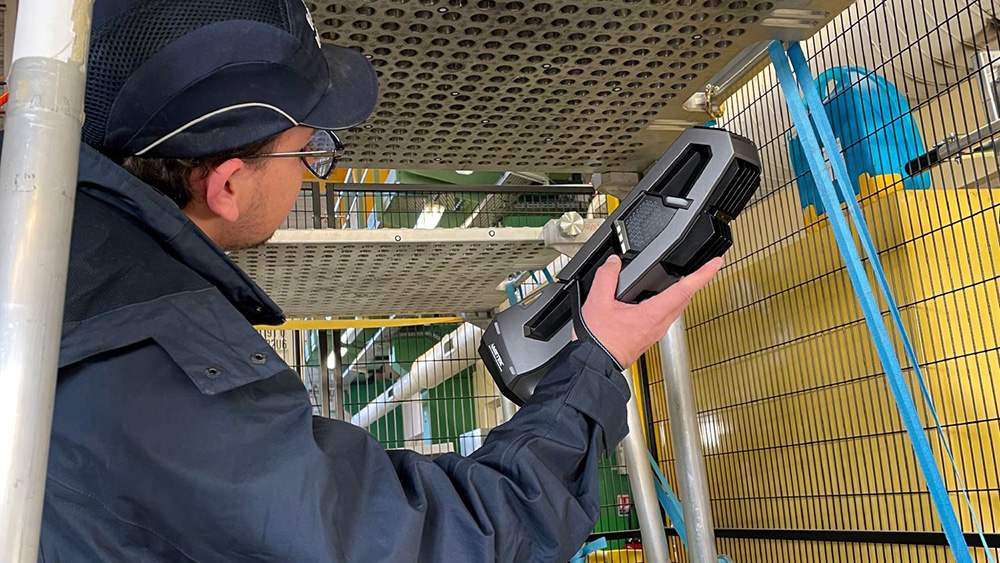
Go!SCAN 3D helps Intercontrôle technicians acquire 3D measurements of difficult-to-access parts in nuclear power plants.
Since its founding in 1974, Intercontrôle has been a leader in France’s nuclear energy sector, ensuring the safety of reactor components through automated nondestructive testing (NDT).
ADVERTISEMENT |
As part of the Framatome group, the company develops its own inspection equipment, oversees logistics and maintenance, and operates as a center of expertise in NDT. Its mission is to guarantee the integrity of some of the most critical parts of nuclear power plants.
But even with its extensive experience and deep technical knowledge, Intercontrôle’s NDT team experienced recurring challenges, especially when it came to measuring and modelling the complex components it needed to inspect.
The challenge: Complex components, limited access, and compromised accuracy
In nuclear energy environments, time is limited, space is restricted, and accuracy is nonnegotiable. Intercontrôle’s teams often had to carry out detailed inspections of components without always having reliable reference data. Existing 2D drawings and CAD models may differ from reality in the field, not be representative of the actual parts, or simply be unavailable.
Measuring surfaces with manual tools is slow, difficult, and physically demanding, because many components may be in hard-to-reach areas. Also, the radiological environment (e.g., dosimetry, contamination) can be hostile. Speed and reliability of scans are therefore paramount.
The components to be inspected vary widely in shape and size, often with intricate geometries and inconsistent surface conditions that make standardized measurement approaches difficult.
These limitations created real risks: missing critical 3D data, introducing errors, and delaying projects unnecessarily. Intercontrôle needed a faster, more reliable way to capture 3D measurements onsite for certain inspections. The team’s main criteria included exceptional accuracy and ease of use. In addition, the 3D measurement solution had to work in the field, not just in the lab.
The solution: Creaform’s Go!SCAN 3D and Metrology Suite accelerate NDT testing
After assessing various 3D measurement technologies, the Intercontrôle team chose Creaform’s ultrafast and accurate Go!SCAN 3D portable 3D scanner and integrated Creaform Metrology Suite software platform.
“Our decision was driven by the clear performance levels of Go!SCAN 3D and accompanying 3D scanning software,” says Yannick Caulier, R&D manager at Intercontrôle.
‘The 0.050 mm accuracy and speed of 1,500,000 measurements per second, even in rugged environments, was also a decisive factor in our selection.’
—Yannick Caulier
Creaform’s 3D scanning tech was introduced for a specific project: inspecting welds on nuclear reactor components. The welds needed to be evaluated for internal flaws using ultrasonic sensors mounted on robots. For the robots to do their job correctly, they had to be positioned precisely on the parts’ surfaces. A high-fidelity 3D model of the part—and its surrounding environment—was essential to guide the robotic path and ensure reliable results.
That’s where Go!SCAN 3D made the difference. Despite being a new addition to the team’s tool kit, the 3D scanner was quickly adopted. After just a half-day training session, users were operational within two days. Lightweight and easy to handle, Go!SCAN 3D allowed operators to easily capture the 3D data they needed. The resulting 3D meshes became the foundation for simulating the inspection paths and aligning the ultrasonic sensors.
The results: Expanding NDT capabilities with metrology technologies
With Go!SCAN 3D, Intercontrôle substantially reduced the time needed for surface 3D measurements. The flexibility of the 3D scanner made it possible to work directly onsite, adapting to components of various shapes and sizes. More important, the company gained confidence in its data. Inspections were better prepared, robotic positioning was more precise, and simulation results more reliable. The user-friendly Metrology Suite was a game-changer for post-processing 3D scans.
Beyond improving a single process, the new solution opened the door to new possibilities. Intercontrôle now regularly uses Creaform’s 3D scanner to create digital twins of mock-ups and real components. These virtual models help streamline development work and improve communication across teams.
“Creaform 3D measurement solutions have helped us streamline our development work on test benches and expand our capabilities with our clients,” says Caulier. “They have also proven to be a major asset during all types of nuclear plant projects. Looking ahead, they will remain an integral part of our inspection processes.”
Published July 18, 2025, by Creaform.
Add new comment