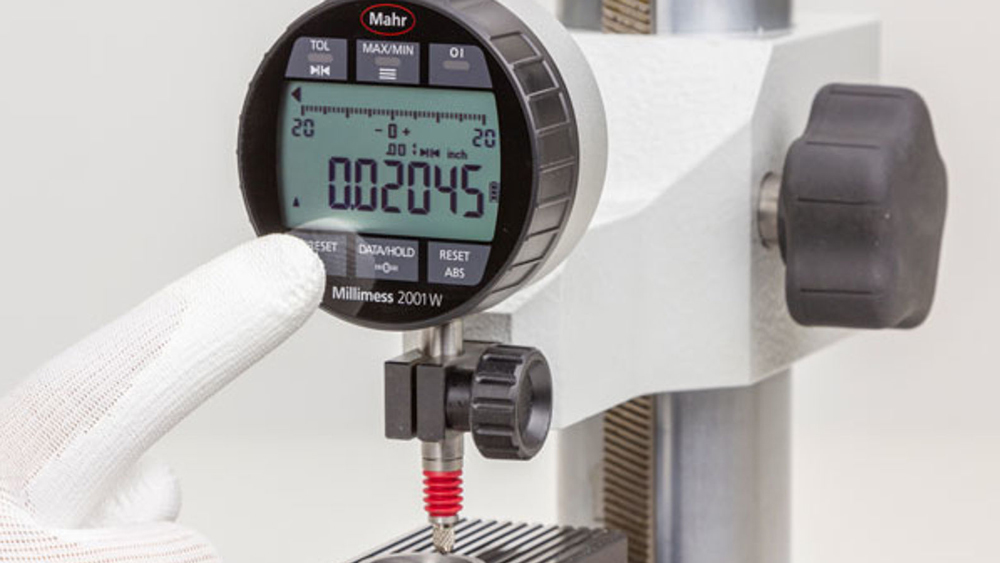
Electronic temperature compensation in gaging has become a valuable tool in improving the accuracy and gage repeatability and reproducibility (GR&R) of gages in harsh manufacturing environments.
ADVERTISEMENT |
The need for temperature compensation comes into play when the expected errors from temperature variation caused by the environment can use up more than 10% of the part tolerance.
Where does this expected error come from? Virtually all materials expand with temperature. Whether aluminum, steel, or carbide, all have their known thermal expansion rates showing how much the material will grow per degree of temperature increase.
There are modifiers to this, of course. For example, parts all have some mass, and the larger the part the longer it takes to stabilize to the surrounding environment. And although the parts may be steel, their actual composition may vary slightly from the steel being used as a reference, and very slight variations will be seen. But again, it all comes down to how much error can be accepted.
Comparative gages are those that don’t actually measure something (like a caliper or micrometer) but rather compare a part to a known master. This tells the user whether the part is larger or smaller relative to the master—hence the term comparative. These types of gages are usually set to measure a specific feature, making the gage fast, easy to use, and more accurate than most portable handheld measuring devices.
A gage is only part of the process
However, having a gage—even a comparative one—is only one part of the measurement process. The total process for a comparative measurement consists of the gage, a master, an operator, a part, and the environment in which the measurement is being performed. The environment certainly affects the master, gage, and part, because they are metal and they expand with increased temperature. (I would imagine temperature affects the operator also, but I don’t know about the expansion part.)
But in any case, with the part, gage, and master used in the comparative gage, there is a certain amount of temperature compensation going on all the time. When the part, gage, and master are all at the same stabilized temperature and the gage has been mastered, then the measurement is apt to be fairly accurate, certainly less than the 10% that might require additional temperature compensation tools.
The reason the system is accurate is that if the materials for the part, gage, and master are the same, and they have had a chance to stabilize to that temperature, then they have all changed the same amount. You would get the same reading whether the temperature of the three items was 65° or 85°. So, in effect, the gage is always compensating for environmental changes.
However, as with most things, there are “buts.” There are two important issues to consider.
The first is when the material of one of the measuring system components is not the same as the other two. For example, the parts may be aluminum while the gage and master are steel. You can easily see why the comparative gage would not compensate for temperature as well in this situation. Since we would be mastering on a steel part and measuring aluminum—which has a different coefficient of expansion—there would be error in the measurements.
The second source of error in this concept is when the three items are not all at the same temperature. Two things can happen here. One scenario is when all three components are the same material, but the part is just coming off a lathe and may be at a different temperature than the gage and master. The comparative gage would not be able to compensate for this difference, and some error would be seen.
However, this may be manageable. If the temperature difference is minor, the part size small, and the tolerance not very tight, the error budget can still be maintained.
Another issue occurs with sudden changes in temperature. Because the part, gage, and master will be different sizes, they have different mass, and their rate of change with temperature will vary slightly. Therefore, in areas where temperature varies quickly in short periods of time—such as near opening and closing doors or under air-conditioning vents—the ability of a comparative gage to adequately compensate would be problematic.
As you are looking at ways to get the most from your measurement, and you have concerns about what temperature is doing to your process, take the time to analyze the situations you are faced with. Keep in mind the part tolerance, the materials, and the environment. You may be able to make some pretty good measurements under difficult environmental conditions if you use a comparative gage as part of a known measuring process.
With the part, gage, and master used in comparative gaging, there is a certain amount of temperature compensation going on all the time. When the part, gage, and master are all at the same stabilized temperature, and the gage has been mastered, then the measurement is apt to be fairly accurate.
Published June 6, 2024, by Mahr.
Add new comment