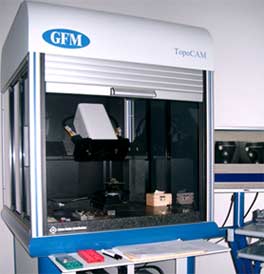
 Coordinate measuring machines (CMMs) are a basic requirement for any industrial manufacturing facility conforming to the specifications of drawings and standards. Accuracy needs to be observed, verified, and certified with respect to a comprehensive set of standardization rules. Highly precise CMMs have costly requirements such as vibration isolation, environmental temperature stabilization, and a long measurement time. An ideal CMM would function without these drawbacks so that the same measuring performance could be taken directly to the production line and used by manufacturing personnel. These shortcomings don’t have any foreseeable solutions in the near future. However, there’s economic motivation to demand an easy-to-use CMM without the requirements of environment control and long measurement times for the acquisition of accurate 3-D data. CAD-based manufacturing takes its measures and tolerances from CAD data. A 3-D measuring device that could, within a few minutes, provide several million measuring points and compare that data to CAD data as a nominal/actual value comparison by manufacturing personnel on site would meet the demands of industry.
…
Add new comment