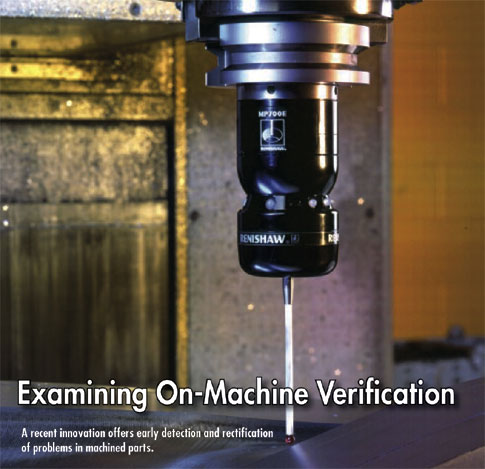
On-machine verification (OMV) is a recent innovation that combines existing technologies to solve more complex measurement problems on machine tools. Many machine tools are equipped with probing systems, and using the probe for simple part setting is an established process. Simple macro-based probing cycles allow the user to measure basic features such as faces, corners, and bosses, and these can be combined to create rudimentary inspection reports. These basic solutions are restricted to simple 2-D measurement because 3-D measurement is just not practical. Although skilled operators can sometimes adapt probing macros to measure along compound angles, this becomes too difficult and too time-consuming for complex, curved surfaces.
OMV solves these problems using graphical 3-D software methods to program the measuring sequences. The programming and reporting tools from inspection software are combined with machine tool post-processor expertise to create a measuring solution for machine tools.
…
Comments
Add new comment